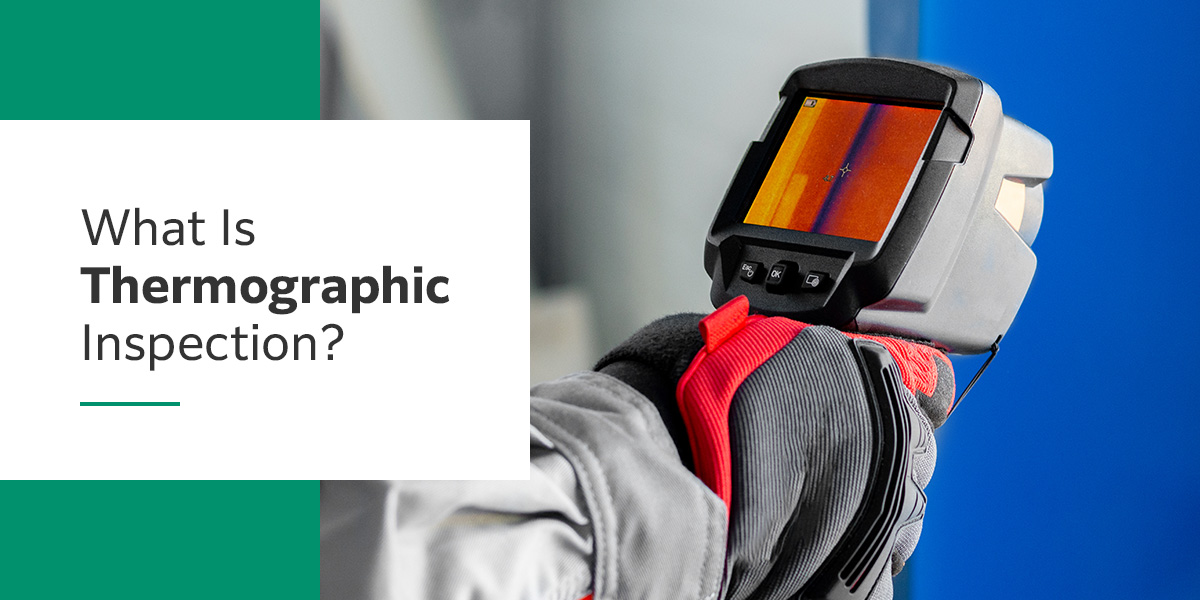
What Is Thermographic Inspection in NDT?

Identifying problems with manufacturing equipment and produced items starts long before breakdowns occur. Non-destructive testing (NDT) methods, such as thermographic inspection, can identify issues invisible to the naked eye without causing damage to the inspected elements. A thermographic inspection is an effective option for almost any business to include in its battery of testing methods.
What Is Thermographic Inspection?
Thermographic inspections, also known as thermography testing or infrared thermography, use the principles of infrared emissions to identify temperature variations on surfaces. These differences can indicate potential flaws in construction or signs of early damage that require addressing. For instance, thermographic testing can spot overheating bearings before they fail or spot heat loss locations in inefficient building construction. Testing methods with this form of inspection include passive and active methods, which have the potential to find different types of problems.
What Is Thermography?
Thermography comes from the physics concept that everything that exists on earth produces infrared — or thermal — radiation. Humans cannot identify this type of infrared radiation without assistance due to limitations in the range of wavelengths people can perceive. A thermographic camera or imager identifies this radiation and produces images that show the temperature variations onto a thermogram, which is a visual representation of the information on infrared radiation gathered.
Higher levels of infrared radiation correspond to higher temperatures. Even if the temperature differences are imperceptible to human touch, a thermographic camera will identify them and create a colored image with different colors corresponding to various temperature ranges, making identifying spots with abnormal readings fast and simple.
These sites with atypical measurements could indicate worn insulation, damaged electrical connections, leaking pipes or energy loss locations. By mapping out temperature differences on the thermogram, thermographic cameras allow for quick, non-destructive testing of a variety of elements.
What Does Thermographic Testing Involve?
There are several testing processes used for thermographic inspection. Some are passive, requiring no changes to the inspected element. Passive testing is the simplest method that uses a camera to take readings without making changes to the inspected element. This type of testing spots temperature differences, which could indicate heat loss or overheating, when the element has no external stimulation.
Other methods are active, adding internal or external stimulus to the element tested. For instance, a flash on a camera adds an external stimulus used during testing. Electromagnetically charging the item or sending sound waves through it provide internal stimulation for inspection. These types of active testing determine if temperature changes occur when the element experiences stresses from light, electromagnetism or mechanical stimuli or in the recovery phases after the application of such forces.
By using the images resulting from taking readings under passive or active testing, inspectors can identify areas that may require additional testing or repairs. Due to the diversity of testing methods within the thermographic inspection, a wide variety of industries can use this examination process, making it a highly useful non-destructive testing method.
How Does Thermographic Testing Work?
The human eye can only detect visible light, which has a small range over the light spectrum, 0.4 to 0.7 microns. Standard photographic cameras pick up visible light, but to capture images at a larger range of wavelengths, thermography becomes necessary.
Thermographic testing looks at infrared radiation, which ranges from 0.7 to 100 microns. However, thermographic cameras measure radiation between 0.2 to 20 microns, allowing this system to perceive a greater range of wavelengths than humans can see. Since people cannot see this range of infrared radiation, the camera must create visible images that correspond to the wavelengths and temperatures it detects.
To produce an image for inspectors to easily interpret, thermographic cameras use an algorithm to combine the forms of transmitted, emitted and reflected infrared energies from an object to find the total. This infrared information corresponds to different colors on the imager, allowing hot or cold spots to readily appear to the inspector.
The inspector using the thermographic testing equipment needs to know how to conduct either a passive or active test and how to interpret the results. The type of testing will depend on the object, its accessibility and what the inspector needs to find. For instance, passive testing of a building finds areas of heat loss around doors or windows or worn insulation.

Why Use Thermographic Testing?
Thermographic testing is one of several forms of non-destructive testing that can verify the integrity of structures, equipment or manufactured pieces. As an NDT method, thermography ensures the elements inspected remain intact and useable after the test. There are many benefits of using this form of inspection.
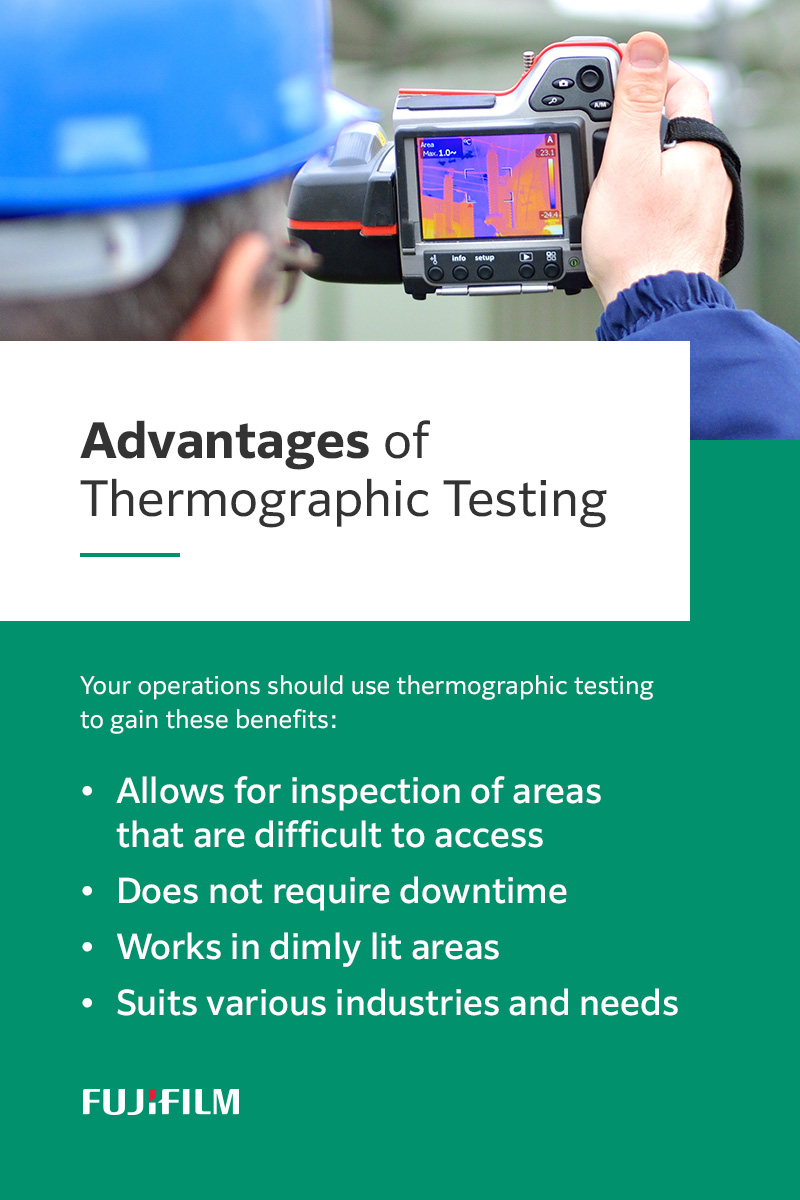
Advantages of Thermographic Testing
Your operations should use thermographic testing to gain these benefits:
- Allows for inspection of areas that are difficult to access: Passive methods allow for non-contact testing and can produce thermograms from a distance, even in hard-to-reach locations. This method works well for testing large structures or elements, such as plant equipment or buildings. Thermographic testing also allows for the examination of hazardous areas from a distance without putting the inspector at risk.
- Does not require downtime: Thermographic testing of machinery does not require the system to shut down during the inspection. Testing works best during operation to detect signs of early wear, such as overheating, before they lead to severe damage to the tested equipment. Thermography still works even with moving machinery.
- Works in dimly lit areas: Thermography NDT does not require light to get needed results. Therefore, inspections can occur in poorly lit areas without the need to bring in supplemental lighting.
- Suits various industries and needs: Thermographic testing has multiple uses in a wide variety of industries. Its ease of use with a portable imager and rapid results enhances the popularity of this NDT option.
Limitations of Thermographic Inspections
Like other NDT methods, thermographic testing should not be the only method of evaluating components or systems. It does have some limitations to consider before investing in the technology. While some of these disadvantages have options to reduce their impact on overall testing, you should still consider them when deciding how to use thermographic testing or whether to add it to other NDT methods:
- Cost: This equipment can be expensive. Unless a company justifies the cost with regular use of the equipment, purchasing the thermographic camera may exceed the budgetary restrictions for testing options. Renting equipment or hiring an inspector who uses thermographic testing may be alternatives to finding more affordable ways to integrate this NDT into a business.
- Precision: Depending on what the inspector tests, the results may not be as precise as other NDT options. Equipment or parts that have natural temperature fluctuations can create unreadable or misleading results. Active testing methods may mitigate this concern.
- Accuracy: The non-contact nature of thermography makes results less accurate than contact options. It should be one type of testing done and not the only option used when accuracy matters. For some tests, the differences in temperatures between areas on the thermogram matter more than the accuracy of the temperature readings compared to the ambient heat levels. For instance, identifying wear in a manufacturing machine with thermograms taken over time can identify problems by comparing the results to each other.
- Component measurement: Testing the thermographic cameras only shows the results of surface temperatures. Unless internal components impact the surface temperature of a piece of equipment, thermographic testing won’t identify possible issues. Removing physical barriers between the tested object or machinery and the camera can reduce errors caused by the equipment only reading surface temperatures.
Thermographic Testing Applications
Several industries benefit from using thermography. Applications of this technology include some of the following:
Manufacturing Equipment Inspection
Plants that put their manufacturing equipment through regular testing for unexpected temperature changes can avoid costly shutdowns due to equipment failure. Overheating equipment, such as worn bearings or belts, can receive repairs before causing catastrophic damage.
Conducting regular equipment examinations can provide information for predictive maintenance to optimize efficiency and reduce downtime. Replacing a worn belt requires much less time than rebuilding a system damaged by a severed belt or overheated engine.

Electrical Testing
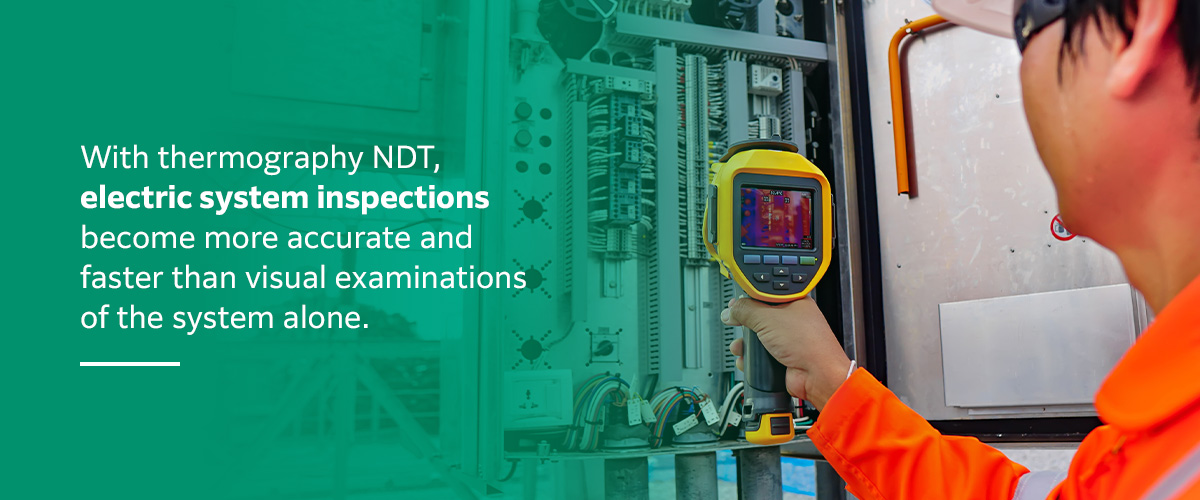
Testing electrical cabinets and systems with thermographic inspections allows for finding missing or worn electrical insulation and shorts. These areas show up as hot spots on the image due to higher temperatures caused by the lack of insulation or electrical short. Loosened or aging electrical connections will permit more electricity to dissipate from the system, producing heat. Thermographic testing can readily spot this area of higher temperature.
With thermography NDT, electric system inspections become more accurate and faster than visual examinations of the system alone.
Heat Leak or Energy Loss Detection
To be energy efficient, buildings need to have adequate insulation to seal in climate-controlled air. Thermographic scanning of the building quickly spots areas of heat loss that indicate inefficient design. Sealing up these spots restores the efficiency of the building, reducing heating and cooling costs.
Identifying Cracks in Concrete Structures
Cracks admit air or water into concrete, which shows up as a different temperature than the concrete on a thermographic inspection. This process makes finding damage to paved surfaces, including bridges and streets, simple before the cracks expand to become visible and structural hazards.
Verifying Integrity of Laser Welded Parts
Infrared testing of laser welded parts is both an important aspect of quality control and a tool to ensure correct welding during the process. As a non-contact, non-destructive testing method, thermographic inspection works well to verify complete, strong welds of both laser-welded parts, including plastic components and automotive parts.
The automotive industry and other sectors that use laser welding can integrate thermographic inspections into the process to ensure complete, secure welds and detect defects that may be invisible to the eye.

Types of NDT Thermographic Testing
Thermographic testing falls into two main categories, passive and active. Both have applications in various industries to examine the temperature differences on surfaces of machinery, components, systems and equipment.
Passive NDT Thermography
Passive thermographic testing can quickly identify variations on a surface compared to the background temperature. This method does not require active input from the inspector to conduct the test, making it fast, simple and straightforward.
With passive thermographic testing, inspectors can conduct the following to determine the initial condition and view the progress of aging machinery for use with predictive maintenance schedules:
- Baseline infrared thermography test: This test looks at the thermogram of a new or nearly new piece of equipment to compare later thermographs to identify changes.
- Trending thermal testing: Trends require periodic testing over time to see changes in thermogram results that may indicate early wear.
- Comparative thermographic inspections: Comparing thermograms of different pieces of equipment is comparative thermography. This option comes with the caveat that even similar components can have vastly different thermograms due to variations in operating conditions, materials and environment.
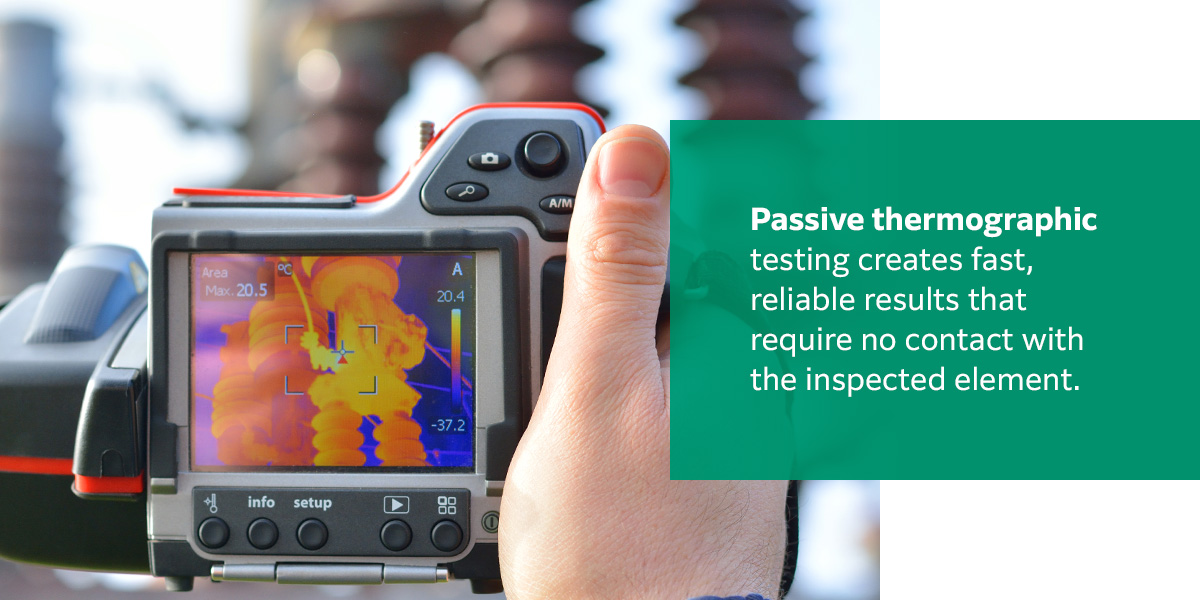
Passive thermographic testing creates fast, reliable results that require no contact with the inspected element. This testing option provides adequate monitoring against ambient temperatures for signs of wear or other issues.
Active Thermography Testing in NDT
Active thermography testing requires stimulating the tested component or system to find problems that passive testing may miss. Only with active testing can the cooling process of a surface be tested because doing so requires adding light or heat to the surface first.
The stimuli applied to the component internally or externally should allow the defective areas to appear on the thermogram with different temperatures.
Internal stimulation, such as through electrical or ultrasonic waves, change the radiation emitted by defective parts inside the system. This internal stimulation may have use in lock-in and pulse methods of testing.
External stimuli can include light from a flash or lamp used in lock-in or step-thermography testing methods. The potential location of the defects determines the type of stimulus used and the testing method.
Common forms of active testing include the following:
- Pulse method: A stimulus, such as a photographic flash, rapidly sends a brief burst of energy to the object, after which the imager examines the cool-down period of the surface.
- Lock-in method: The light, electric current or ultrasound waves go through the inspected element in modulating waves to test the surface temperature changes of the piece.
- Step thermography: This testing method is similar to the pulse method but uses less intense stimuli and longer periods of excitation.
- Continuous: A rare form of testing that continuously excites the object imaged.
These methods of active testing allow for finding problems passive testing methods cannot perceive.
Trust Fujifilm for NDT Testing Materials
A thermographic inspection is only one form of non-destructive testing you should have available. Other options include conventional and computed radiography. FUJIFILM NDT is a trusted provider of non-destructive testing materials for businesses.
Our decades of pioneering imaging products have given us the ability to provide our customers with the superior NDT image quality they require. Among our NDT testing materials are those used to generate images for radiographic testing, including X-ray film and diagnostic imaging software. We also provide formal training for using digital radiography methods.
Contact Fujifilm to let us help you find the right NDT solutions for your business.


